
DELL EMC D-PVM-OE-01 Practice Exams
Last updated on Nov 16,2026- Exam Code: D-PVM-OE-01
- Exam Name: Dell PowerMax Operate v2 Exam
- Certification Provider: DELL EMC
- Latest update: Nov 16,2026
What is an update operation in SRDF on PowerMax arrays?
- A . process to retain the data on the target R2 side
- B . A process used to return to the original production site after a failover event
- C . A process that initiates an incremental copy from the target R2 to the source R1
- D . A process that allows separate hosts to access the same data independently
C
Explanation:
Step by Step Comprehensive Detailed
In SRDF (Symmetrix Remote Data Facility), an "update" operation refers to a specific process where changes made on the target (R2) side are copied back to the source (R1) side.
This is typically used in disaster recovery scenarios where:
Failover: A failover occurs, and the target (R2) becomes the active production site.
Data Modification: Data is modified or updated on the target (R2) while it’s acting as the primary.
Update Operation: An "update" is initiated to synchronize the changes from the target (R2) back to the source (R1), ensuring that the source has the latest data.
This process is crucial for maintaining data consistency and ensuring a smooth transition back to the original production site after a failover event.
Why other options are incorrect:
SIMULATION
A customer has an existing host with two 100 GB volumes that are assigned from existing PowerMax storage. They would like to add three additional volumes of 100 GB each and change the service level that is assigned to the storage group from Gold to Platinum to support the current application SLO requirements.
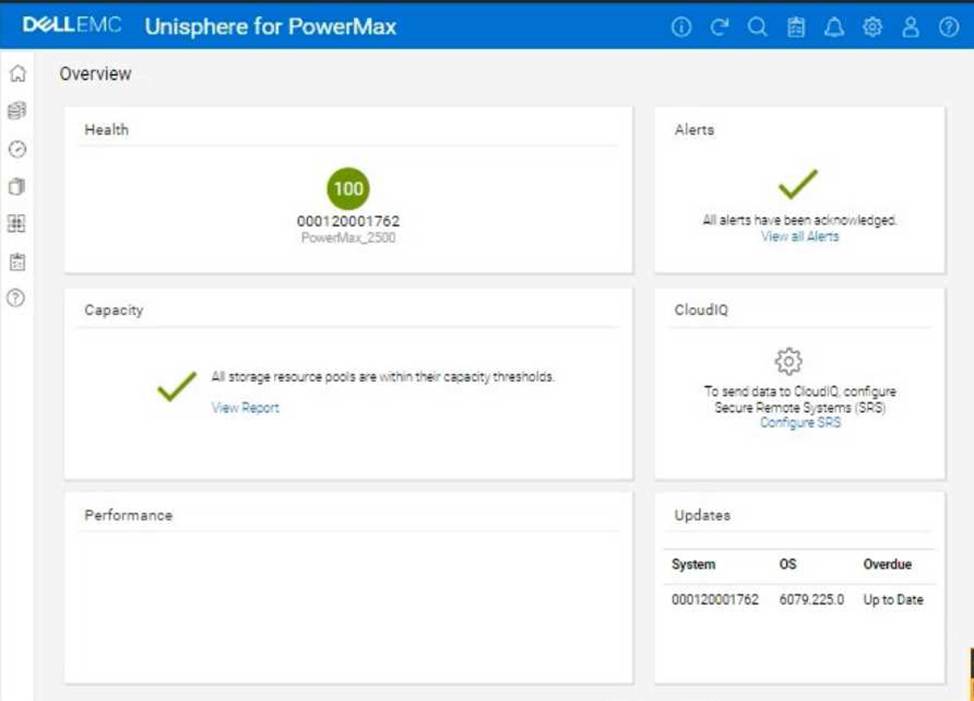
Here’s a comprehensive guide, broken down into manageable steps:
Phase 1: Provisioning the New Volumes
Step 1: Log in to Unisphere for PowerMax
Open your web browser and enter the URL for your Unisphere for PowerMax management interface.
Log in with your administrator credentials.
Step 2: Navigate to Storage Groups
In the left-hand navigation pane, click on Storage to expand the storage management section.
Click on Storage Groups under the Storage section. This will display a list of existing storage groups on your PowerMax array.
Step 3: Locate the Target Storage Group
Identify the storage group that currently contains the host’s existing two 100 GB volumes.
Tip: You can find this by:
Looking at the "Hosts" tab within each storage group’s details. It will list the hosts connected to that storage group.
If you know the host’s name, you might be able to search for it using the Unisphere search bar (if available).
Step 4: Initiate Adding Volumes
Once you’ve found the correct storage group, select it by clicking on its name.
Look for a button or option related to adding volumes.
The exact wording might vary slightly depending on your Unisphere version, but it could be:
"Add to Storage Group"
"+" (a plus icon, which often signifies adding something)
"Add Volumes"
Click this button to start the process of adding new volumes to the storage group.
Step 5: Configure Volume Details
A new window or panel will appear, allowing you to specify the characteristics of the new volumes.
Select "Create new volumes"
Number of Volumes: Enter 3 in the field for the number of volumes.
Capacity: Enter 100 in the field for the capacity of each volume. Make sure the unit is set to GB.
Volume Name (Optional): You can give the volumes a specific name or prefix, or you can let Unisphere auto-generate names.
Service Level: Since the final goal is to move the entire Storage Group to platinum, you can either set this to platinum now or change it for the whole group later.
Other Settings: Review any other available settings (e.g., thin provisioning, data reduction). In most cases, the default settings should be fine, but adjust them if needed based on your environment’s best practices.
Step 6: Execute Volume Creation
After you’ve configured all the volume settings, review them carefully to make sure they are correct.
Click the button to execute the operation.
This button might be labeled:
"Run Now"
"OK"
"Finish"
"Apply"
Unisphere will start creating the new volumes. This might take a few moments.
Phase 2: Changing the Storage Group’s Service Level
Step 7: Navigate Back to Storage Groups
Once the volume creation is complete, go back to the list of storage groups. You can usually do this by clicking "Storage Groups" in the left-hand navigation pane again.
Step 8: Select the Target Storage Group
Find the same storage group you worked with in Phase 1 (the one containing the host’s volumes).
Click on the storage group’s name to open its properties.
Step 9: Modify the Service Level
Look for a setting related to the "Service Level." It might be a dropdown menu, a field you can edit, or a link to a separate settings page.
Change the Service Level from Gold to Platinum.
Step 10: Save the Changes
Click the button to save the changes to the storage group’s service level. This button might be labeled:
"Apply"
"Save"
"OK"
Phase 3: Host-Side Configuration
Step 11: Rescan for New Storage on the Host
The host needs to be made aware of the newly provisioned storage. The exact process for this depends on the host’s operating system:
Windows:
Open Disk Management (diskmgmt.msc).
Go to Action > Rescan Disks.
Linux:
Identify the SCSI host bus numbers (e.g., ls /sys/class/scsi_host).
Use the command echo "- – -" > /sys/class/scsi_host/hostX/scan, replacing hostX with the appropriate host bus number.
You might also be able to use tools like rescan-scsi-bus.sh.
VMware ESXi:
In the vSphere Client, select the host.
Go to Configure > Storage Adapters.
Select the relevant storage adapter (e.g., your HBA).
Click Rescan Storage.
Step 12: Initialize, Partition and Mount (if needed):
Once the host detects the new volumes, you’ll need to initialize them, create partitions, format them with a filesystem, and mount them, depending on your operating system and how you intend to use the storage. This is done using the host’s operating system tools.
Phase 4: Verification and Monitoring
Step 13: Verify in Unisphere
Go back to the storage group in Unisphere and check the "Volumes" tab. You should see the three new 100 GB volumes listed along with the original two, and they should all have the "Platinum" service level.
Step 14: Verify on the Host
Confirm that the host can see and access the new volumes.
Step 15: Monitor Performance
After making these changes, monitor the performance of the storage group and the application using Unisphere’s performance monitoring tools. Ensure that the Platinum service level is meeting your application’s requirements
SIMULATION
The customer has successfully completed a Non-Disruptive Migration.
Use the simulator to verify migration sessions and remove the migration environment.
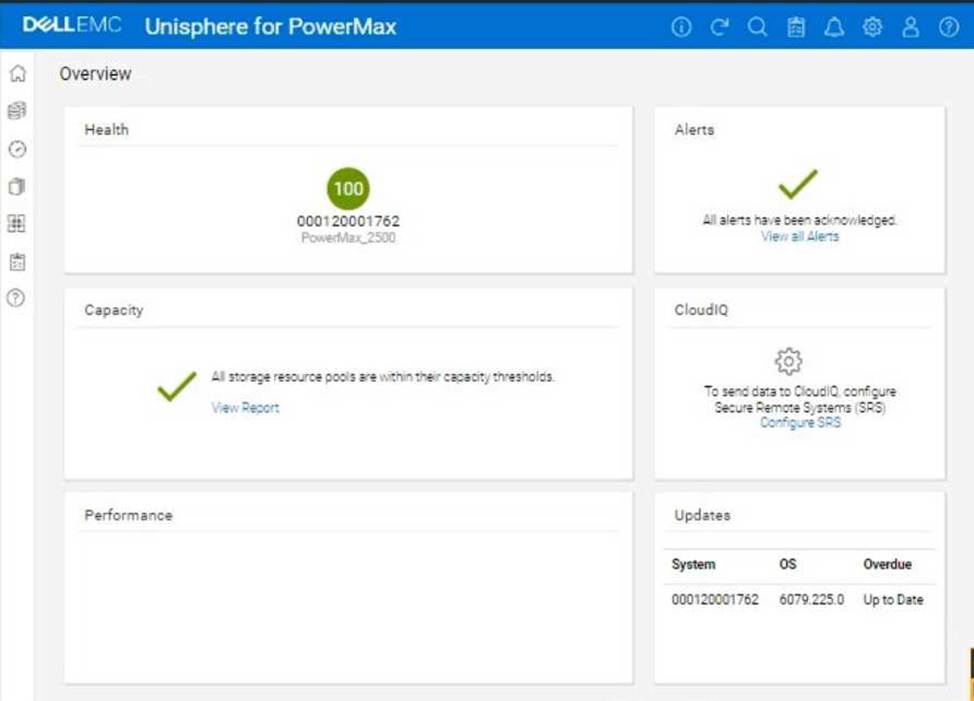
Here’s a step-by-step guide on how to do this, based on typical Unisphere functionality and the context of the question:
Steps:
SIMULATION
The customer has successfully completed a Non-Disruptive Migration.
Use the simulator to verify migration sessions and remove the migration environment.
Here’s a step-by-step guide on how to do this, based on typical Unisphere functionality and the context of the question:
Steps:
SIMULATION
A PowerMax array has been added to the environment. As part of the configuration, a weekly backup is done every Sunday during the 8:00 AM hour. The load for all components during the backup window should not be in system-level compliance calculations.
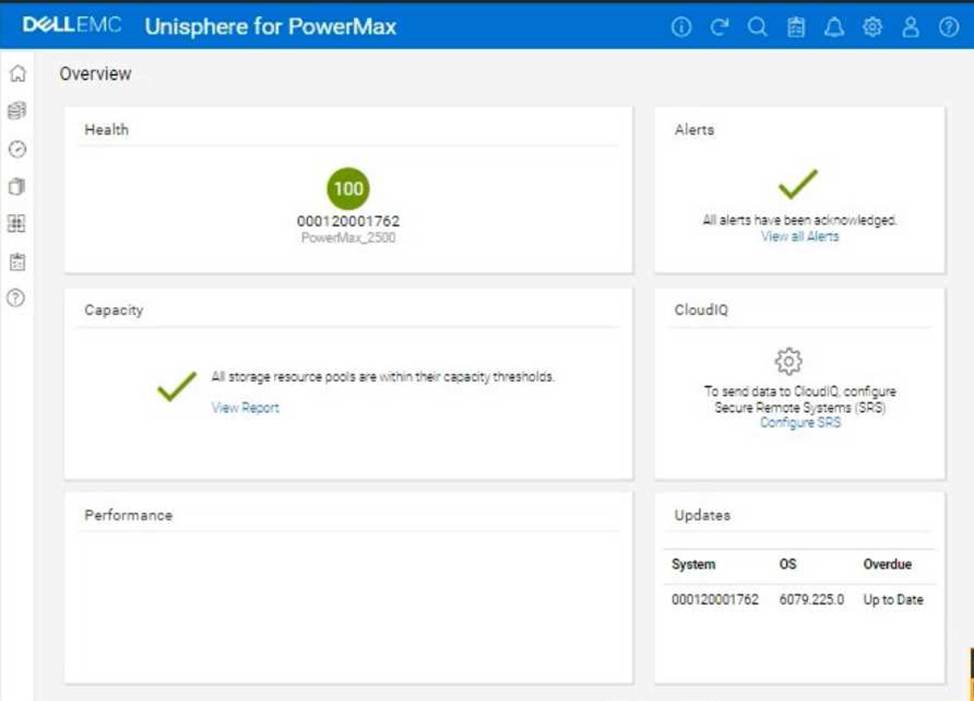
Using the simulator, set a recurring exclusion window at the system level on the array for the backup window.
Here’s a step-by-step guide on how to do this, based on typical Unisphere functionality:
Steps:
DRAG DROP
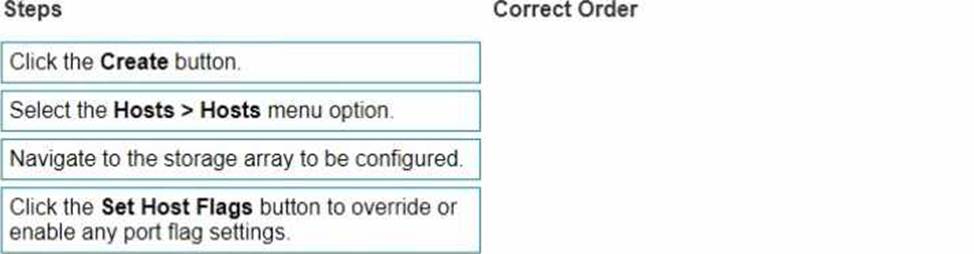
Place the steps to set Host Flags using the Create Host wizard in the correct order
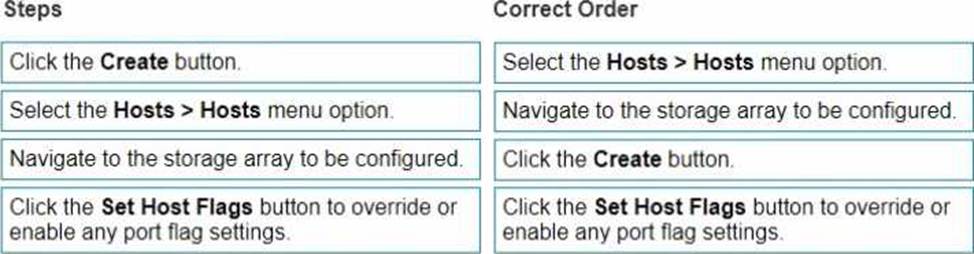
Explanation:
Here’s the correct sequence of actions, along with explanations:
Correct Order:
Select the Hosts > Hosts menu option.
Why: This is the initial navigation step within Unisphere. You need to go to the "Hosts" section where you can manage and configure host connections to the PowerMax array.
Navigate to the storage array to be configured.
Why: In an environment with multiple PowerMax arrays, you need to select the specific array for which you want to configure host settings.
Click the Create button.
Why: This initiates the "Create Host" wizard, which will guide you through the process of adding a new host and configuring its settings, including the host flags.
Click the Set Host Flags button to override or enable any port flag settings.
Why: Within the Create Host wizard, you’ll reach a point where you can configure host flags. Clicking the "Set Host Flags" button allows you to modify these flags.
Host Flags: These flags are settings that define how the PowerMax array interacts with the host.
They control things like:
SCSI support: Different variations of SCSI protocols.
High availability: Features like auto-negotiation of failover.
Other host-specific behaviors.
Select the Hosts > Hosts menu option.
Navigate to the storage array to be configured.
Click the Create button.
Click the Set Host Flags button to override or enable any port flag settings.
DRAG DROP
Place the steps to set Host Flags using the Create Host wizard in the correct order
Explanation:
Here’s the correct sequence of actions, along with explanations:
Correct Order:
Select the Hosts > Hosts menu option.
Why: This is the initial navigation step within Unisphere. You need to go to the "Hosts" section where you can manage and configure host connections to the PowerMax array.
Navigate to the storage array to be configured.
Why: In an environment with multiple PowerMax arrays, you need to select the specific array for which you want to configure host settings.
Click the Create button.
Why: This initiates the "Create Host" wizard, which will guide you through the process of adding a new host and configuring its settings, including the host flags.
Click the Set Host Flags button to override or enable any port flag settings.
Why: Within the Create Host wizard, you’ll reach a point where you can configure host flags. Clicking the "Set Host Flags" button allows you to modify these flags.
Host Flags: These flags are settings that define how the PowerMax array interacts with the host.
They control things like:
SCSI support: Different variations of SCSI protocols.
High availability: Features like auto-negotiation of failover.
Other host-specific behaviors.
Select the Hosts > Hosts menu option.
Navigate to the storage array to be configured.
Click the Create button.
Click the Set Host Flags button to override or enable any port flag settings.
What are two characteristics of a SnapVX Clone?
- A . Maximum 1024 snaps per volume
- B . Can be made secure
- C . Restores directly to the source volume
- D . Is Read-only
- E . Can be made crash consistent
BE
Explanation:
Step by Step Comprehensive Detailed
SnapVX Clones: SnapVX clones are full, writable copies of a source volume created using the SnapVX snapshot technology. They are independent volumes that can be used for various purposes, such as testing, development, or data analysis.
Secure Snapshots: SnapVX offers the capability to create "secure snapshots." When a clone is derived from a secure snapshot, it inherits the same protection, making it immutable and preventing any modifications or deletion. This ensures data integrity and protection against accidental or malicious changes.
Crash Consistent: SnapVX clones can be made crash consistent. This means that the clone captures a point-in-time copy of the source volume that is consistent with a database or application crash. This is important for ensuring data integrity and recoverability in situations where the source volume experiences an unexpected outage.
Why other options are incorrect:
Two PowerMax arrays have been configured for replication using SRDF During a disaster recovery operation production has been transferred to the R2 devices at the target site
Which operation allows the primary hosts to access the R1 devices without waiting for a data transfer to complete from the R2 devices?
- A . Update
- B . Fallback
- C . Failover
- D . Resume
D
Explanation:
Step by Step Comprehensive Detailed
In an SRDF (Symmetrix Remote Data Facility) disaster recovery scenario where production has been switched to the R2 devices at the target site, the Resume operation allows the primary hosts to regain access to the R1 devices without waiting for a full data transfer from the R2 devices.
Here’s how it works:
R1 Access: The Resume operation makes the R1 devices (at the primary site) accessible to the primary hosts.
Background Synchronization: While the hosts access and modify data on the R1 devices, SRDF continues to synchronize the changes from the R2 devices (at the target site) in the background. This ensures that the R1 devices are gradually updated with any changes that occurred on the R2 devices during the failover.
This approach minimizes downtime and allows for a quicker return to the primary site without waiting for a lengthy synchronization process to complete before granting host access.
Why other options are incorrect:
What does the symsan command do when scanning the SAN environment for devices to use in an O-MDM session?
- A . Temporarily stops the remote application to verify the SAN configuration
- B . Verifies the SAN configuration and creates and ORS session on the remote host
- C . Verifies the SAN configuration without disruption to the remote host
- D . Temporarily stops the remote application and creates an ORS session
C
Explanation:
Step by Step Comprehensive Detailed
The symsan command in Solutions Enabler is used for various SAN (Storage Area Network) management tasks. One of its functions is to scan the SAN environment to discover and verify the configuration of devices and paths.
When used in the context of an Open Replicator Migrator for Dell EMC (O-MDM) session, the symsan command specifically:
Verifies SAN Configuration: It checks the connectivity and configuration of the SAN fabric to ensure that the source and target devices are accessible and properly configured for the migration.
Non-Disruptive: It performs this verification without disrupting any applications or host I/O operations on the remote host. This is crucial for maintaining business continuity during the migration planning phase.
Why other options are incorrect: